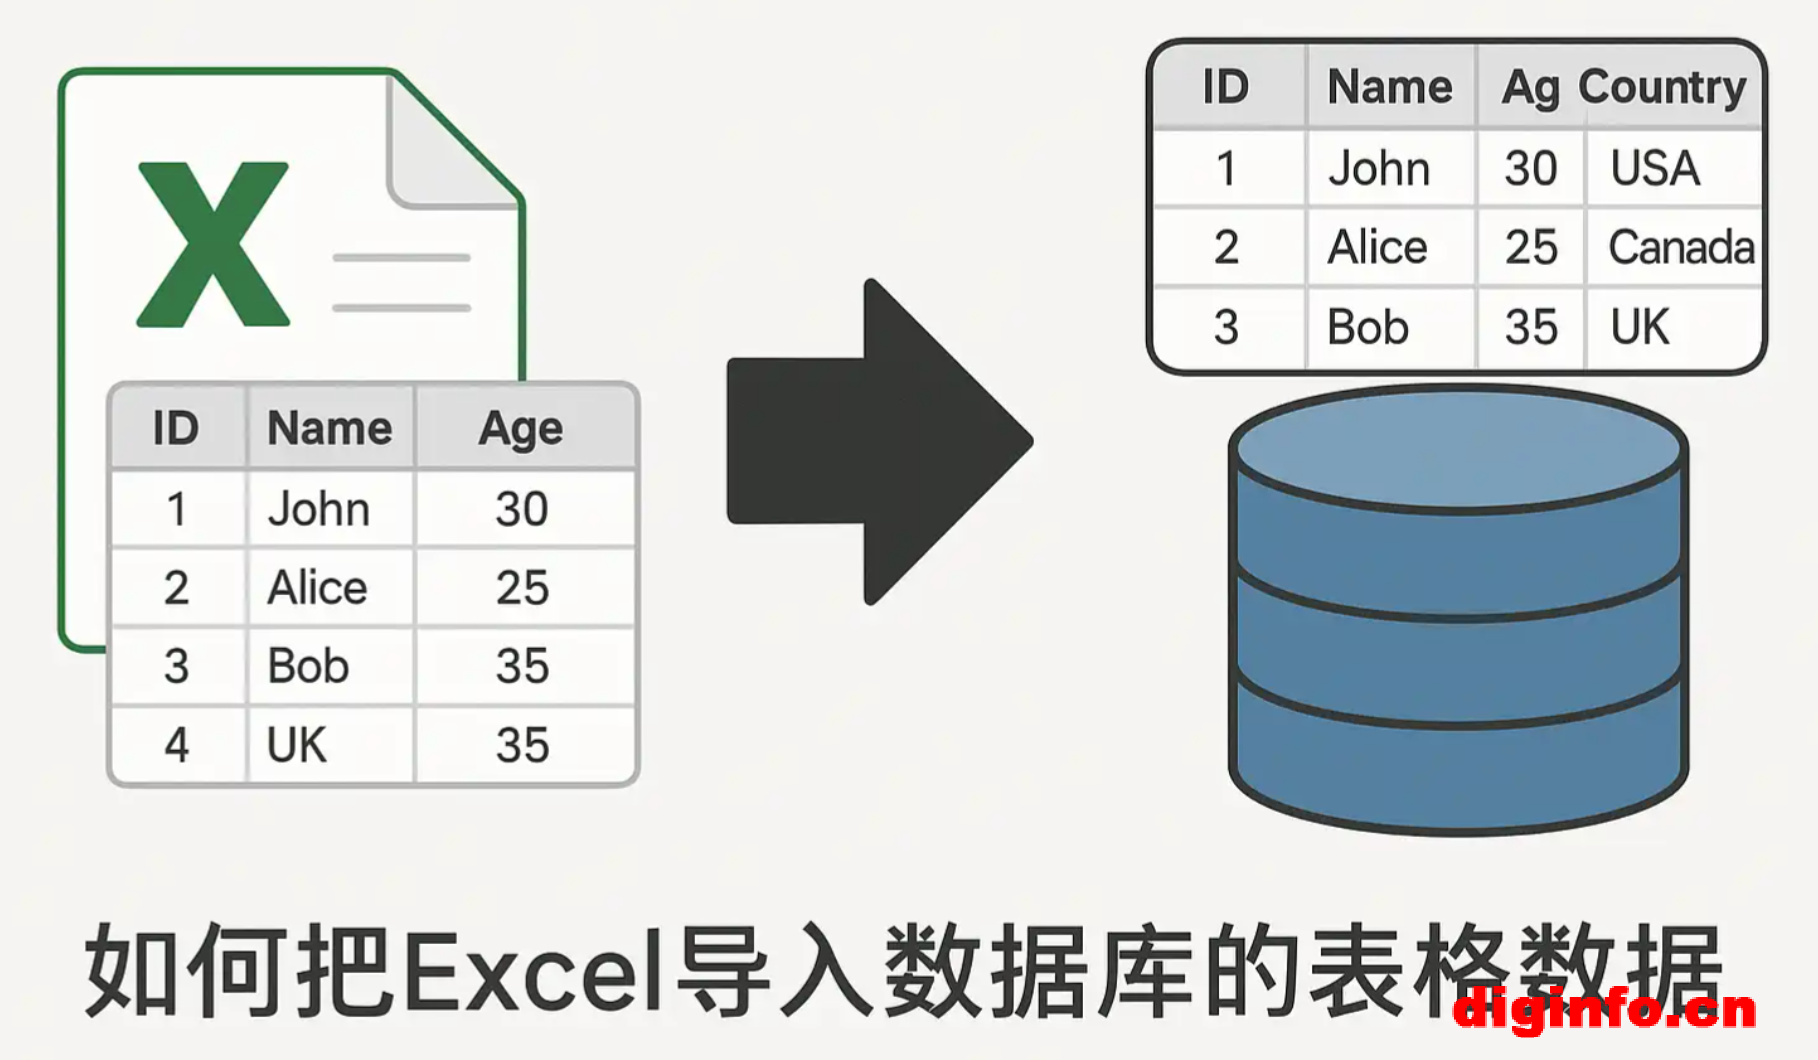
ruoyi框架如何导入Excel表格数据
一.创建数据表
在数据库中创建需要用到的数据表。
二.后端设置
官方文档中对导入功能有说明:
并且系统有导入功能示例,可以参考 ruoyi-admin的SysUserController文件,如下。
自定义实现 controller层:
// 导入方法
@PostMapping("/importData")
public AjaxResult importData(@RequestParam(value = "file", required = false) MultipartFile file) throws Exception
{
// 1. 检查文件是否为空
if (file == null) {
return AjaxResult.error("请选择要上传的文件");
}
// 2. 检查文件是否为空文件
if (file.isEmpty()) {
return AjaxResult.error("上传的文件为空");
}
// 3. 检查文件名
String originalFilename = file.getOriginalFilename();
if (originalFilename == null || originalFilename.trim().isEmpty()) {
return AjaxResult.error("文件名不能为空");
}
// 4. 检查文件扩展名
if (!originalFilename.toLowerCase().endsWith(".xlsx") &&
!originalFilename.toLowerCase().endsWith(".xls")) {
return AjaxResult.error("只支持Excel文件(.xlsx, .xls)");
}
ExcelUtil<MeetUserDto> util = new ExcelUtil<MeetUserDto>(MeetUserDto.class);
List<MeetUserDto> meetUserDtoList = util.importExcel(file.getInputStream());
String message = importFileService.importData(meetUserDtoList);
return AjaxResult.success(message);
}
MultipartFile file:传入的Excel文件;
service层:数据处理逻辑写在这里,以下为简单的框架。
/**
* 导入数据
*
* @param meetUserDtoList 数据列表
* @return 结果
*/
@Override
public String importData(List<MeetUserDto> meetUserDtoList)
{
if (StringUtils.isNull(meetUserDtoList) || meetUserDtoList.size() == 0)
{
throw new ServiceException("导入用户数据不能为空!");
}
int successNum = 0;
int failureNum = 0;
StringBuilder successMsg = new StringBuilder();
StringBuilder failureMsg = new StringBuilder();
for (MeetUserDto meetUserDto : meetUserDtoList)
{
ExMeetUser exMeetUser = BeanCopyUtils.copy(meetUserDto, ExMeetUser.class);
try
{
successNum++;
ExMeetUser queryMeetUser = new ExMeetUser();
queryMeetUser.setMeetId(exMeetUser.getMeetId());
queryMeetUser.setUserName(exMeetUser.getUserName());
ExMeetUser meetUser = exMeetUserMapper.selectExMeetUserByMeetIdAndUserName(queryMeetUser);
if (meetUser != null) {
meetUser.setPhone(exMeetUser.getPhone());
meetUser.setCollege(exMeetUser.getCollege());
meetUser.setPayMoney(exMeetUser.getPayMoney());
meetUser.setPayMoneyTime(exMeetUser.getPayMoneyTime());
exMeetUserMapper.updateExMeetUser(meetUser);
successMsg.append("<br/>" + successNum + " 更新成功");
} else {
exMeetUserMapper.insertExMeetUser(exMeetUser);
successMsg.append("<br/>" + successNum + " 导入成功");
}
}
catch (Exception e)
{
failureNum++;
String msg = "<br/>" + failureNum + " 导入失败:";
failureMsg.append(msg + e.getMessage());
}
}
if (failureNum > 0)
{
failureMsg.insert(0, "很抱歉,导入失败!共 " + failureNum + " 条数据格式不正确,错误如下:");
throw new ServiceException(failureMsg.toString());
}
else
{
successMsg.insert(0, "恭喜您,数据已全部导入成功!共 " + successNum + " 条,数据如下:");
}
return successMsg.toString();
}
domain层:变量声明要加@Excel,如下:
/**
* @author wanglixin
* @version 1.0
* @description: TODO
* @date 2026/1/10 07:24
*/
@Data
public class MeetUserDto {
/** 会议编号 */
@Excel(name = "会议编号")
private Integer meetId;
/** 姓名 */
@Excel(name = "姓名")
private String userName;
/** 付款金额 */
@Excel(name = "付款金额")
@Digits(integer = 10, fraction = 2, message = "金额格式不正确")
private BigDecimal payMoney;
/** 联系方式 */
@Excel(name = "联系方式")
private String phone;
/** 学院 */
@Excel(name = "学院")
private String college;
/** 缴费日期 */
@JsonFormat(pattern = "yyyy-MM-dd HH:mm:ss")
@Excel(name = "缴费日期", width = 30, dateFormat = "yyyy-MM-dd HH:mm:ss")
private Date payMoneyTime;
}
三.前端
<el-button
type="warning"
plain
icon="el-icon-upload"
size="mini"
@click="handleImport"
v-hasPermi="['ex:meetUser:import']">导入</el-button>
弹出上传excel文件的对话框:
<el-dialog :title="upload.titleImport" :visible.sync="upload.openImport" width="400px" append-to-body>
<el-upload ref="upload" :limit="1" accept=".xlsx, .xls" :headers="upload.headers"
:action="upload.url + '?updateSupport=' + upload.updateSupport" :disabled="upload.isUploading"
:on-progress="handleFileUploadProgress" :on-success="handleFileSuccess" :auto-upload="false" drag>
<i class="el-icon-upload"></i>
<div class="el-upload__text">将文件拖到此处,或<em>点击上传</em></div>
<div class="el-upload__tip text-center" slot="tip">
<div class="el-upload__tip" slot="tip">
<el-checkbox v-model="upload.updateSupport" /> 是否更新已经存在的用户数据
</div>
<span>仅允许导入xls、xlsx格式文件。</span>
<el-link type="primary" :underline="false" style="font-size:12px;vertical-align: baseline;"
@click="importTemplate">下载模板</el-link>
</div>
</el-upload>
<div slot="footer" class="dialog-footer">
<el-button type="primary" @click="submitFileForm">确 定</el-button>
<el-button @click="upload.openImport = false">取 消</el-button>
</div>
</el-dialog>
引入:import {getToken} from "@/utils/auth";
data() {
return {
// 导入参数
upload: {
// 是否显示弹出层(导入弹窗)
openImport: false,
// 弹出层标题(自己填写)
titleImport: "",
// 是否禁用上传
isUploading: false,
// 是否更新已经存在的用户数据
updateSupport: 0,
// 设置上传的请求头部
headers: {
Authorization: "Bearer " + getToken()
},
// 上传的地址,即后端接口地址
url: process.env.VUE_APP_BASE_API + "/xxx/xxx/importData"
},
};
},
/**导入excel表*/
handleImport() {
this.upload.titleImport = "导入xxxx表";
this.upload.openImport = true;
},
/** 下载模板操作 */
importTemplate() {
this.download('xxx/xxx/export', {
...this.queryParams
}, `xxxx模板${new Date().getTime()}.xlsx`)
},
// 文件上传中处理
handleFileUploadProgress(event, file, fileList) {
this.upload.isUploading = true;
},
// 文件上传成功处理
handleFileSuccess(response, file, fileList) {
this.upload.open = false;
this.upload.isUploading = false;
this.$refs.upload.clearFiles();
this.$alert(response.msg, "导入结果", {
dangerouslyUseHTMLString: true
});
this.getList();
},
// 提交上传文件
submitFileForm() {
this.$refs.upload.submit();
}
接口地址,换成你自己的接口地址即可。代码经实践检验可行,希望可以对你有所启发和帮助。


全部评论